
So, you’ve decided it’s time for a bathroom upgrade, and the first task on your list is to remove that old shower valve. Don’t worry, you don’t need to be a plumbing expert to tackle this project. With a bit of guidance and some basic tools, you can successfully remove a shower valve and pave the way for your new and improved bathing experience. Let’s dive right in and learn how to bid farewell to that outdated valve. This article is presented by Esscnyc.com.
Turn Off the Water Supply
Before you embark on this valve-removing journey, you’ll want to ensure you’re not caught in a sudden flood. Locate the water shut-off valve specifically for the shower. It’s usually found near the shower area or in the basement. Turn it off to prevent any water flow while you work your magic.
Remove the Shower Handle
Now that you’ve tamed the water beast, it’s time to tackle that shower handle. Depending on the type of valve you have, this might involve a hex key or a trusty screwdriver. Scout for any screws or fasteners that are keeping the handle hostage. Loosen them up and bid adieu to the handle. Let’s discover the steps to remove shower handle.
Take Off the Trim Plate
With the handle out of the way, it’s time to uncover the valve assembly. The trim plate, that decorative cover, needs to step aside. Grab your screwdriver and gently loosen the screws holding it to the valve assembly. Slide it away from the valve stem, revealing the inner workings of your shower.
Bid Farewell to the Valve
Now that you have a clear shot at the valve assembly, it’s time for the main event: removing the valve itself. The removal process here can vary depending on the type of valve you’re dealing with. You might need to unscrew it, unclip it, or perform some other intricate maneuver. The key is to disconnect the valve from its plumbing connections. Just remember, be gentle, and take your time.
Seek Professional Assistance If Needed
It’s important to note that shower valves, much like snowflakes, come in various shapes and sizes. The exact steps for removing them can differ based on the make and model. If you’re feeling a bit unsure about the process, don’t hesitate to consult the manufacturer’s instructions or even call in a professional for backup. Better safe than soggy!
Conclusion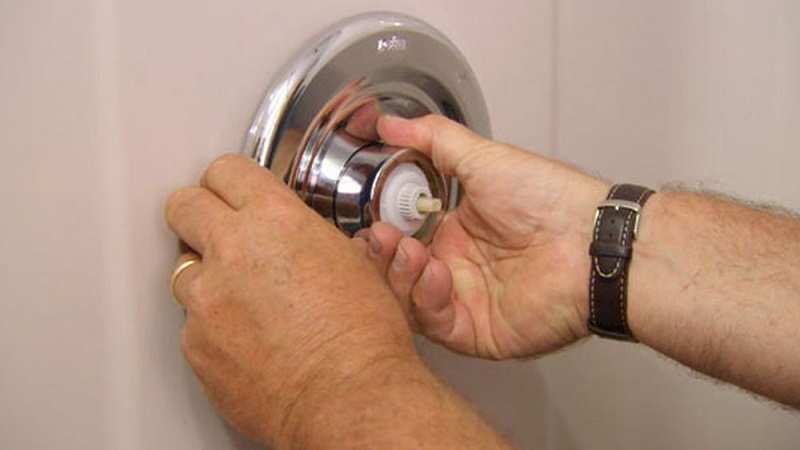
Congratulations, you’ve successfully navigated the intricate art of removing a shower valve. You’re now one step closer to your bathroom makeover dreams. Remember, each valve has its own quirks, but with patience, determination, and a dash of DIY spirit, you can conquer this task like a pro.
FAQs
Is it necessary to turn off the water supply before removing a shower valve?
Absolutely! Turning off the water supply prevents any unwanted surprises during the removal process.
What tools do I need to remove a shower valve?
You’ll typically need a screwdriver, possibly a hex key, and a healthy dose of determination.
Can I remove a shower valve without professional help?
Yes, you can, especially if you’re comfortable with basic DIY tasks. However, seeking professional assistance is always an option.
How do I know which type of valve I have?
Refer to the manufacturer’s documentation or consult a plumbing expert to identify the specific type of valve in your shower.
What if I encounter unexpected difficulties during the removal process?
Don’t panic! Take a step back, assess the situation, and consider reaching out to a professional for guidance.