The semi-permanent manicure has become a must for you, and it guarantees perfect nails for about two weeks, without friction and without you having to worry about renewing the enamel every day. For this reason, and how could it be otherwise. You have also been caught by unforeseen confinement, with the semi-permanent enamel about to need change and without the necessary tools to do it at home. Don’t panic, you only need 5 steps to remove your semi-permanent manicure at home, this is all you need.
To remove the semi-permanent enamel at home you will also need some specific products that you can find in the supermarket if not. You can order them from Amazon and they will deliver them to you at home in several days and taking the necessary security measures.
Here are the tips on How to remove permanent manicure.
Step one: polish your nails
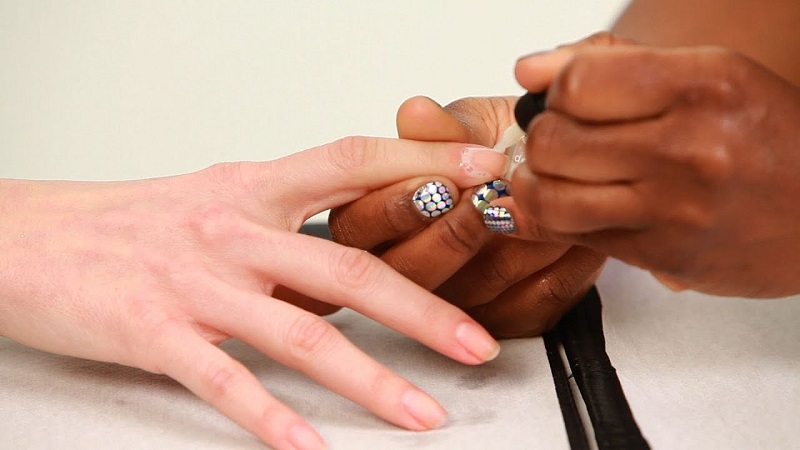
The first step in removing your semi-permanent manicure at home is to polish your nails until the polish shine has worn off. You can use a regular nail file, a manual polisher, or an electric polisher for a more professional manicure ( you can buy this one from Beurer on Amazon ).
Second step: soften the enamel with pure acetone
To follow the second step, you need to have pure acetone at home or at least nail polish remover with acetone. You can find nail polish removers with acetone or pure acetone at your nearest supermarket. You can also buy a specific product for semi-permanent enamel that will offer you better results. We recommend this Mylee nail polish remover, prepared for stronger enamels ( you can buy it on Amazon here ).
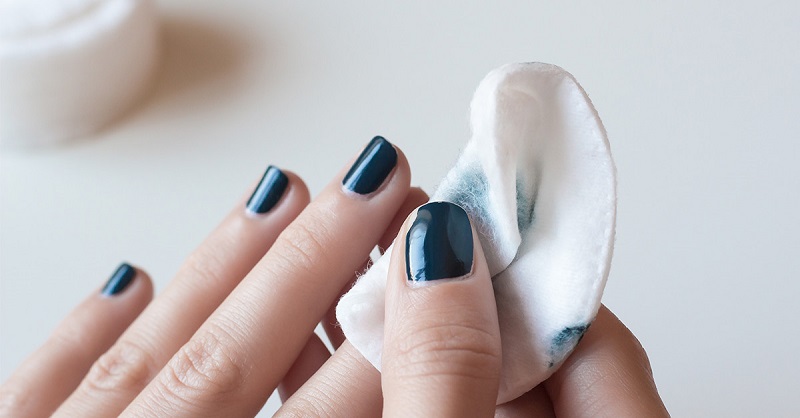
Soak a cotton ball in the product you have chosen and wrap your nails, in such a way that the wet cotton is in contact with the nail and can act. You can use aluminum foil, although there are specific accessories that will facilitate the task, we give you two examples:
Nail Tweezers : These tweezers will allow you to fix acetone soaked cotton easily. And much more effectively than aluminum foil. You can buy this pack of 10 plastic clips on Amazon.
Mylee remover strips: These strips have a small wipe included and are adhesive. You just have to soak the wipe with acetone and wrap the strip in your nails. They are very easy to use and fit perfectly for a very effective result. You can buy them on Amazon.
Let the wet cotton work for about 15-20 minutes.
Third step: remove the enamel with an orange stick
Now that the semi-permanent enamel is softened, it is time to remove it with the help of an orange stick. Gently slide the rounded part of the stick until you remove the remains of enamel. If you still have difficulty doing it, wrap the nails again with the acetone cotton so that the enamel is even softer. If you don’t have orange sticks at home.
Step Four: Polish Again
This step is not essential, but it is recommended if you want to perfectly remove any trace of enamel. Once you have removed the enamel layer with the orange stick. Pass the polisher again to eliminate possible traces and leave your nail completely free of product, so that it can breathe.
And finally: hydrate your nails
The semi-permanent enamel is quite aggressive with the nails. It is possible that after removing it you will notice how these are softer, cracked and weak. For this reason, this last step is very important to give them back strength and shine. Hydrate your nails after removing the semi-permanent enamel. You can do it with some natural oil or with your usual hand cream.
You may like to read-http://buzzjournal.co.uk/
